Help
About PrintOps
Getting Started
Placing Orders
Shipping
Billing
Shopify App
Etsy Integration
Order Desk Integration
Technical Docs
Legal
Bleed
What is bleed?
Bleed is where the printed area of your poster or print extends past the trim line, to accommodate in trimming and the slight movement of the image on the sheet.
Bleed is normally 1/8" (.125") on each side. This would add 1/4" (.25") to the length and width of your image.
Why do we need bleed?
Typically, when a poster is printed, it is printed on a larger sheet that will be trimmed to the finish size later. Here at PrintOps.com, we will trim a "lift", or a stack of dozens, of one particular size. Because there is a slight natural shift of the image on the sheet, if you don't have bleed, you'll end up with some prints having a white line on one side where the print area stopped. When we say "slight", we mean something as small as 1/64" or less. Without bleed, this could really turn a great print into an unprofessional looking product.
Without bleed, during the trimming process, the print would have to be undercut slightly, to avoid the possibility of unprinted area showing in the final product. Bleed alleviates this issue, by allowing the trim line to be within the printed area, rather than right on the edge of it.
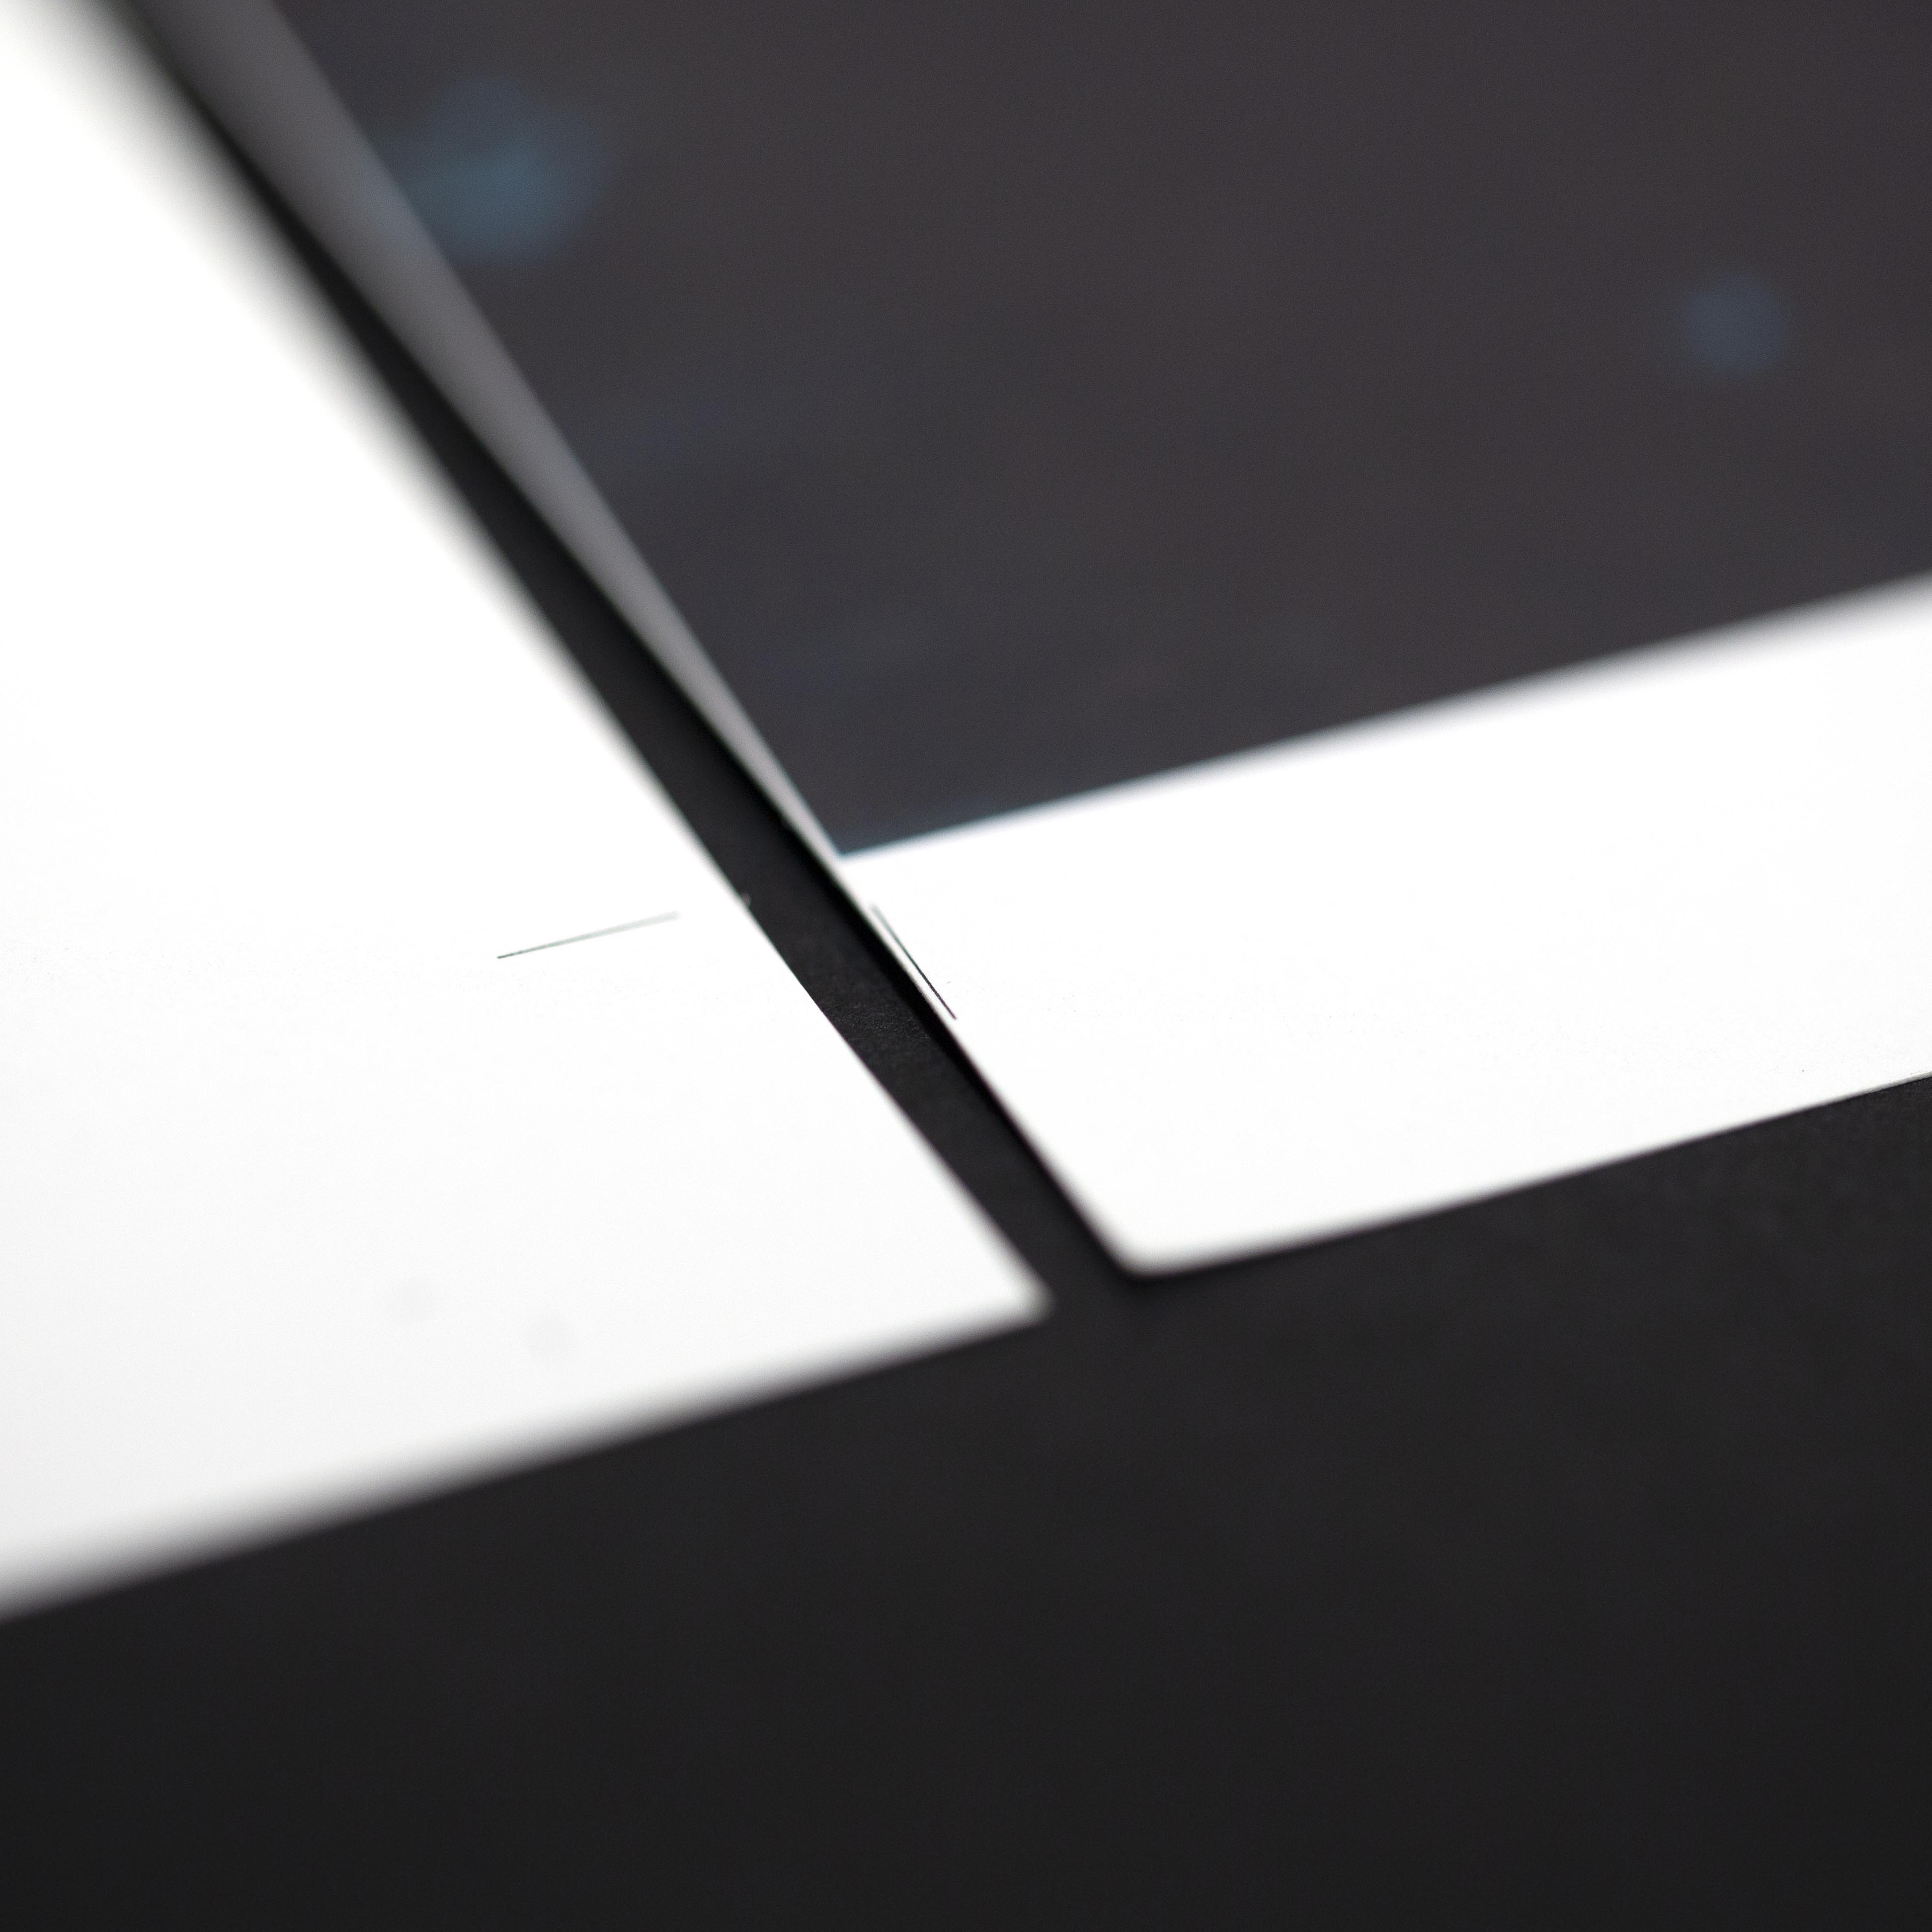
Below, a image printed without bleed, showing the trim marks.
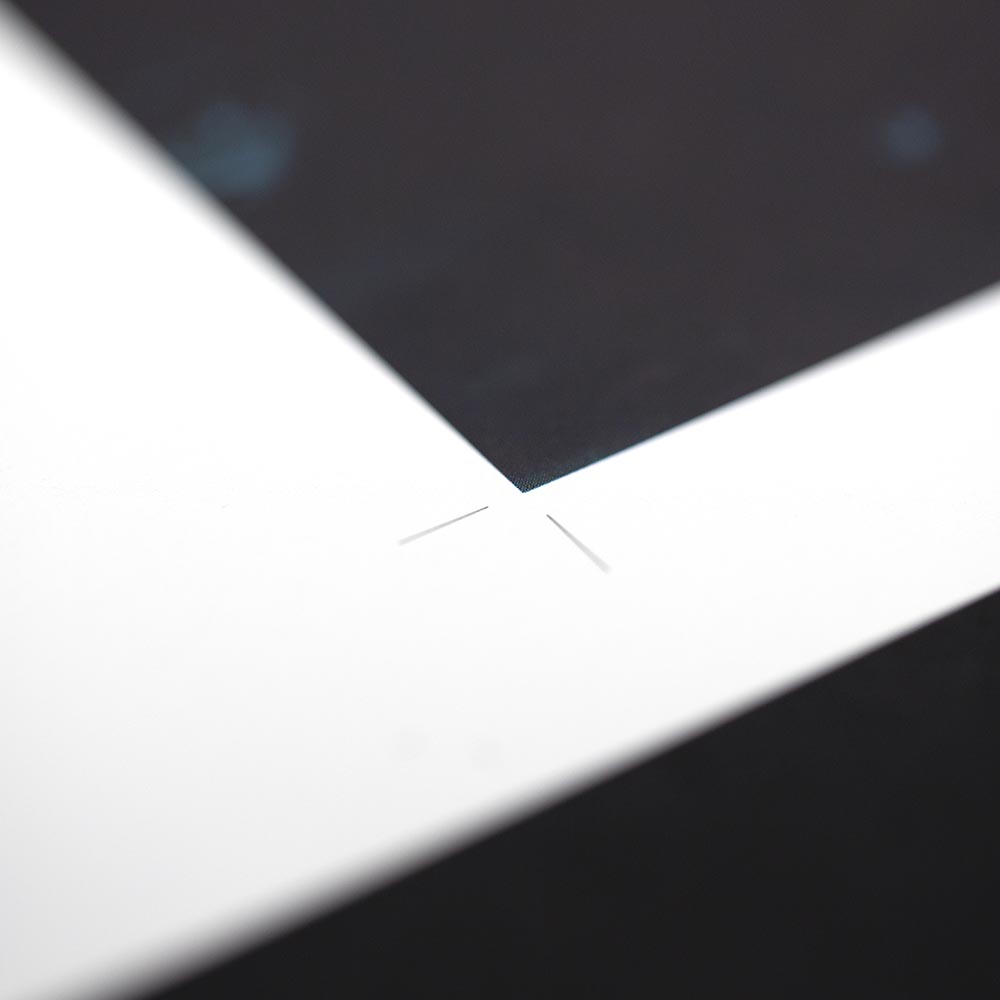
Here's what happens when it is trimmed.
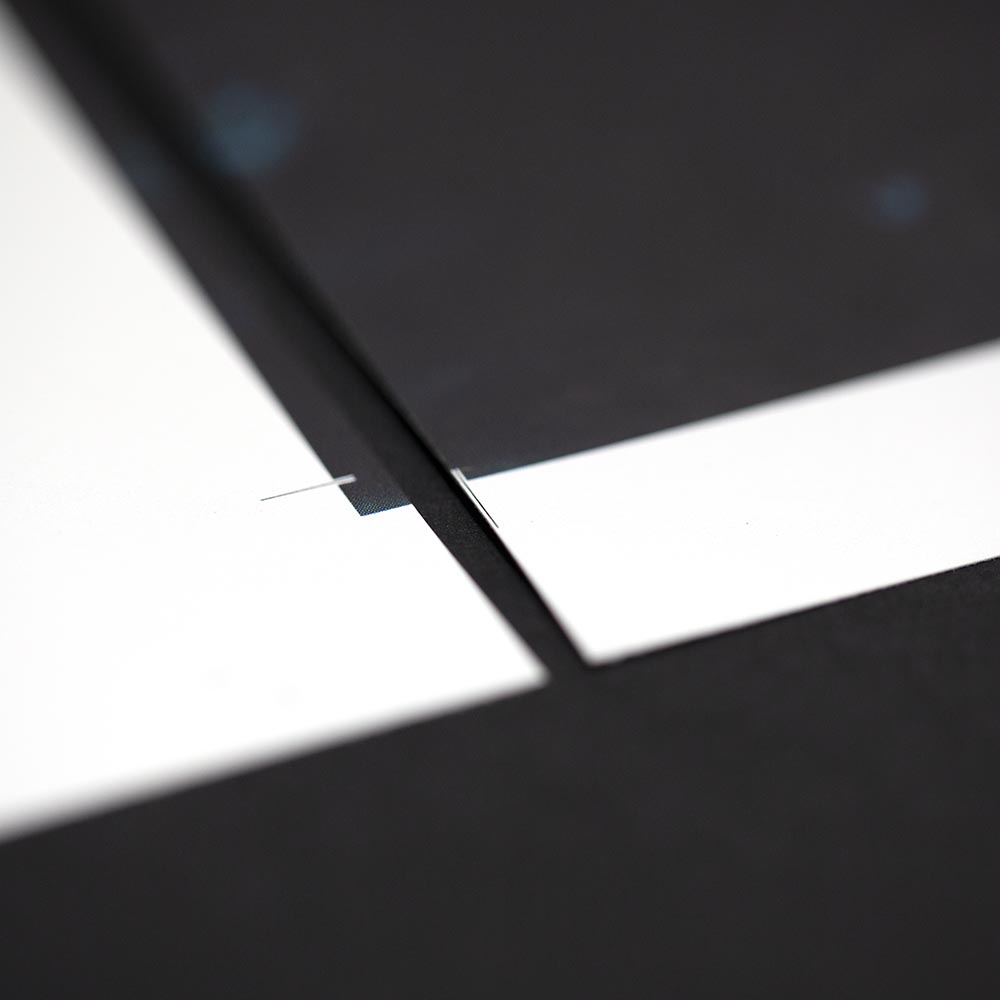
Here's a poster with bleed, showing crop marks.
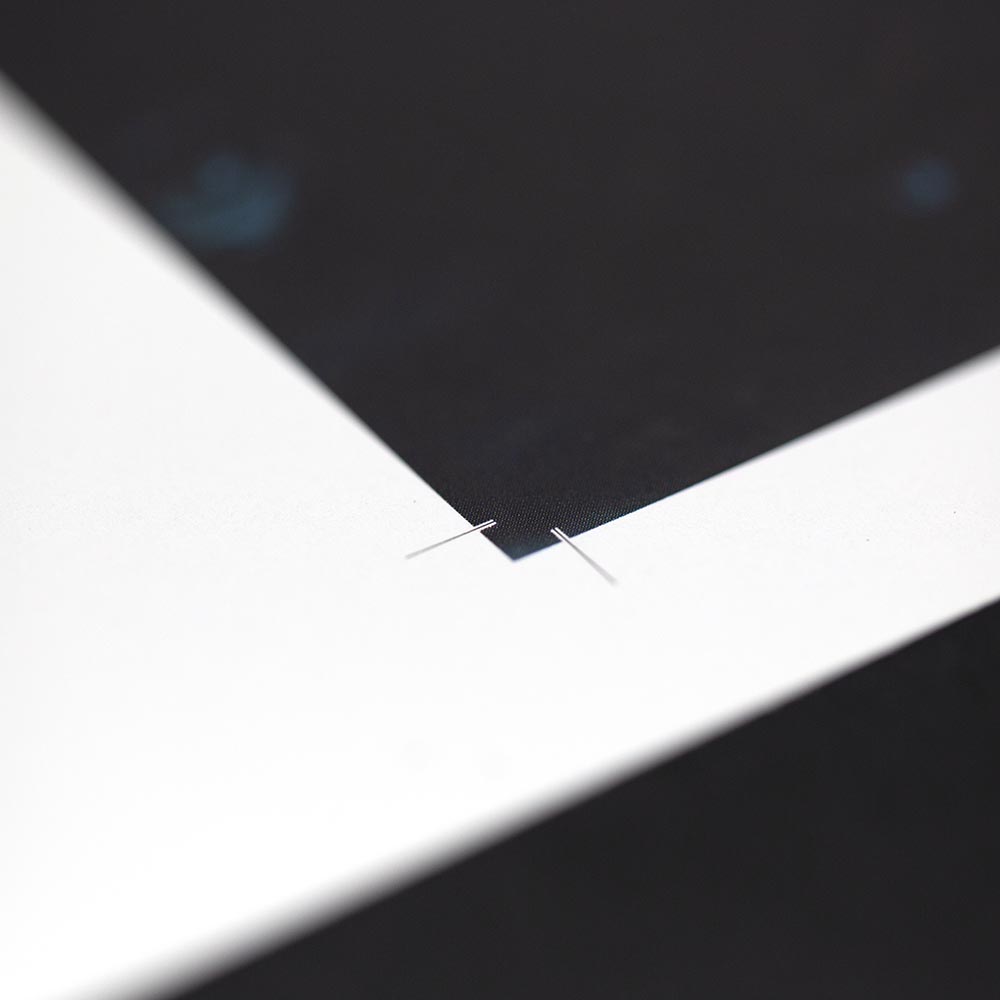
Here's the image with bleed after it's been trimmed.
When does an image NOT need bleed?
There is one instance where bleed is not required, and you couldn't add bleed if you wanted to! What we mean is, if you have an image with a white margin, then you don't need to worry about bleed. If your image does not print edge to edge, you need not worry about bleed.
Poster with margin.
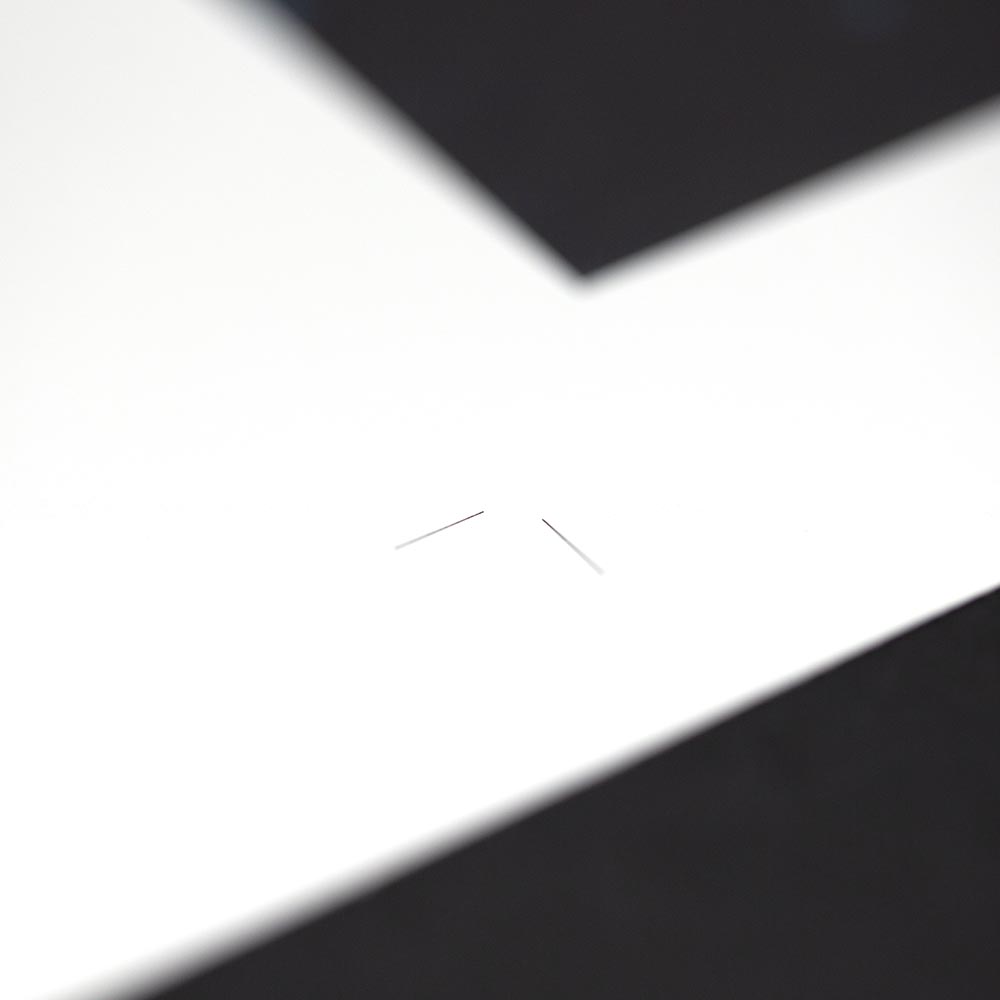
Poster with margin after it's been trimmed.
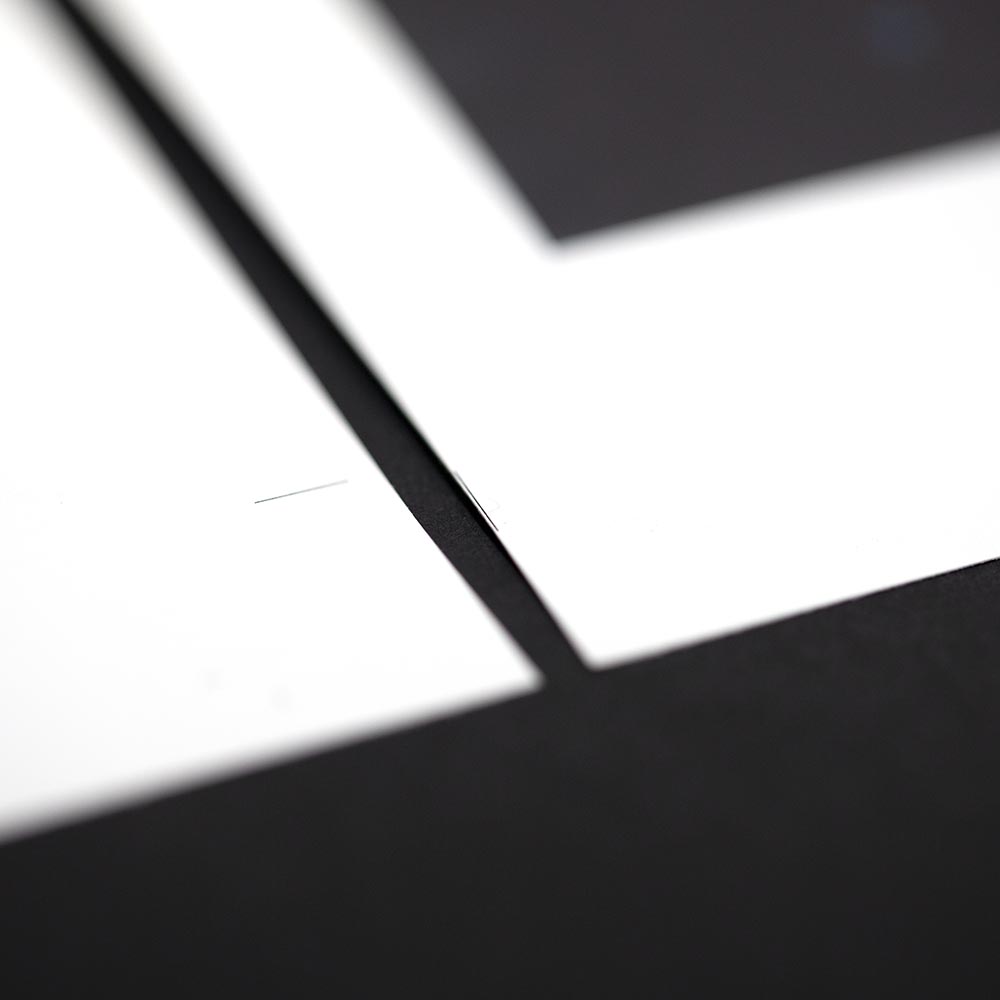
How do I add bleed?
It all depends on how you are creating your images. In a program like Adobe InDesign, you can setup your document beforehand to have a specific amount of bleed, and this shows as an outer border around your print canvas. Adobe Illustrator has a similar function. In other programs, it is sometime easier to simply create your image 1/4" (.25") larger on both dimensions. It is important to place guides where the trim line will be so your important content doesn't overlap into the area that will be trimmed off.
What if my file doesn't have bleed?
The good news is that although it's a good idea to have bleed, you don't need to have it to use PrintOps.com. Only when using the Scale Option: "No Scaling" should you definitely use bleed. Any of the other options, it is not necessary because we automatically generate the bleed for you.
We do this by mirroring your image on all four sides, giving the effect that the image continues past the trim line.