Help
About PrintOps
Getting Started
Placing Orders
Shipping
Billing
Shopify App
Etsy Integration
Order Desk Integration
Technical Docs
Legal
Creating a Store
Once you have created an account and added your billing information, the next step is to create a store. Stores are the basic organizational unit for PrintOps. You can have as many stores as you need, but all orders coming from stores in one account will be billed on the credit card you have entered. Why might you need more than one store? If you have more than one outside store, such as Etsy or Shopify, or if you need to keep certain groups of products separated - there are plenty of reasons.
To create a store, first get logged into your account. Once logged in, you should see your dashboard.
Click on "See More" on the store card on the right side.

From the Stores page, you can click the "Add Store" button on the left.

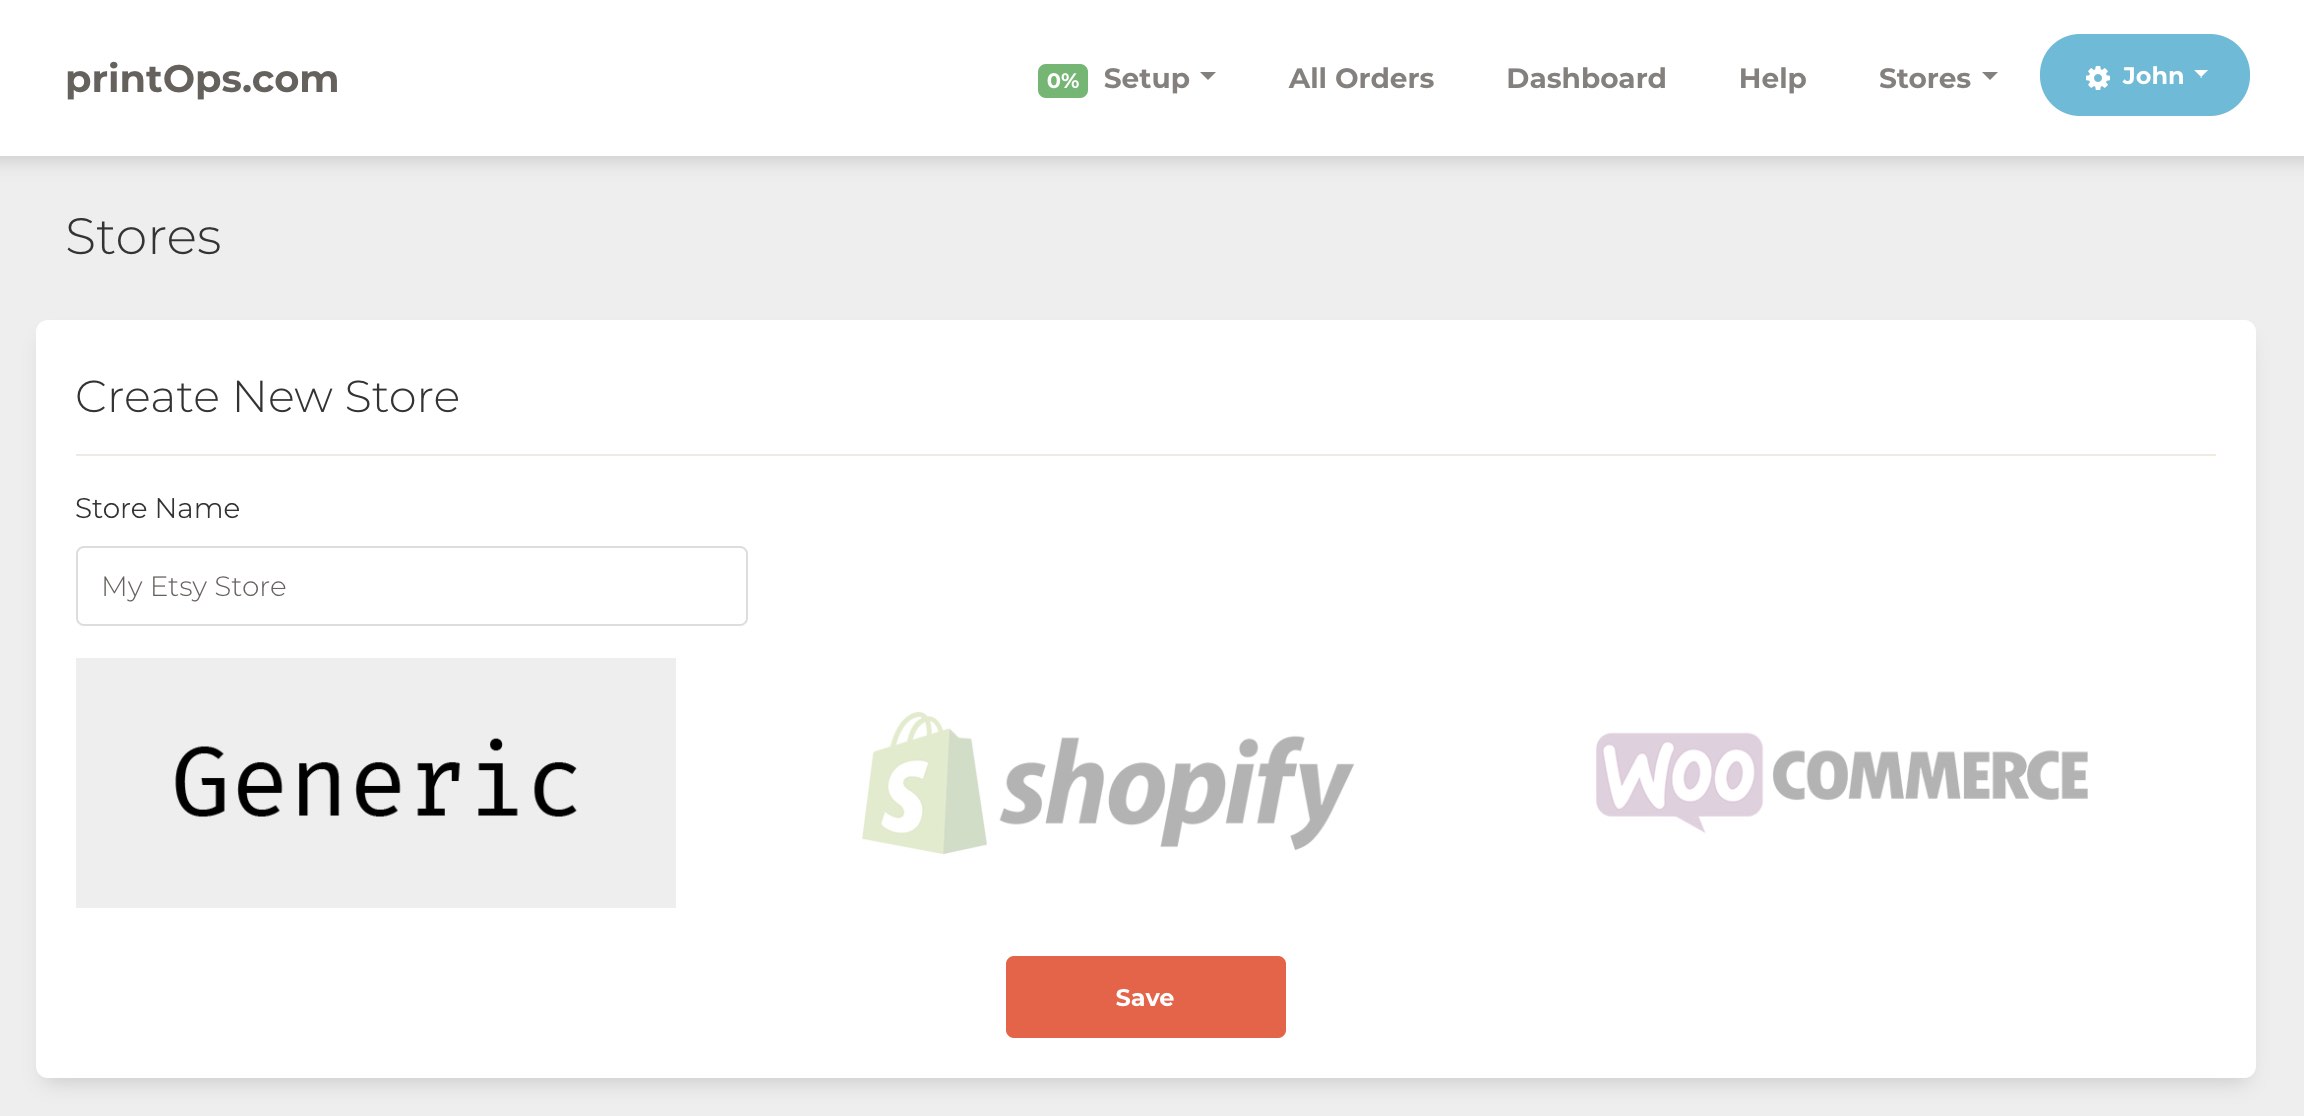
On the next page, specify a name for your store. This name is for your reference only - not end customers will see it. You'll also need to select the store "type". Currently the only option is "Generic".

Click "Save" when you are satisfied with your options. You'll be returned to the Stores page where you will now see the store that you just created. If you click the "View" button, you'll be able to see the Store dashboard. This is where you will see your products, orders and shipments.